Contents
Set up Web Deploy on
MS Server. 1
1. Create an FTP
User in the Windows VM. 1
2. Open FTP ports on
server. 3
3. Add FTP
Publishing in IIS. 4
4. Install .NET
runtime on the virtual server. 7
5. Publish a .NET
web application to the VM... 8
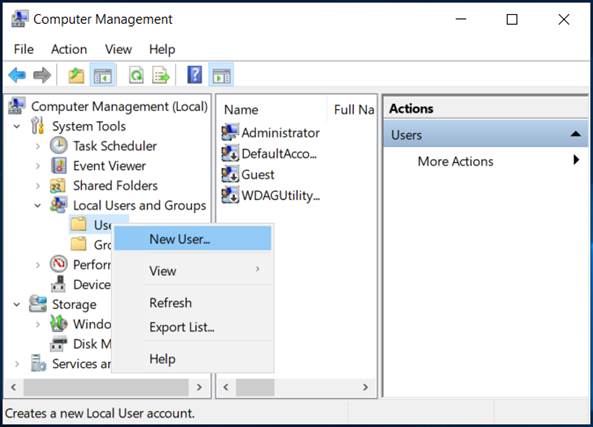
On MS Server, start Server Manager. Select
Tools à Computer Management. Expand Local Users and Groups à Right-click
Users à New User…
Enter credentials for the new user (here,
the user name ‘FtpUser’ is chosen). Both Username and Password must be remembered
since they are needed to get access to the IIS from the publishing computer.
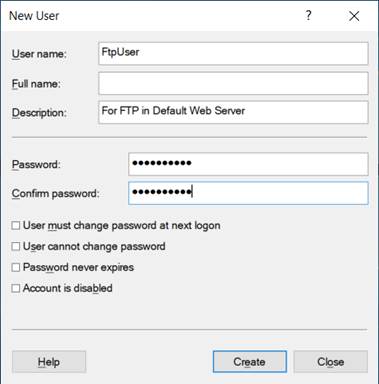
Press Create and close. After the User is
created, right-click the new user and select Properties. In the User Properties
window, select Member Of à Add… à In the text field (Enter the …), write IIS_IUSRS à Check Names
à
the valid group SERVERNAME\IIS_IUSRS should now be underlined:

Press OK. Press Apply à OK.
This step is a little strange because FTP
ports should already be open by default. But at least on some machines it seems
to be necessary to perform this step to enable passive FTP.
Open “Windows Defender Firewall with
Advanced Security” from the Tools button in Server Manager. In the Actions
window to the right, click New Rule…
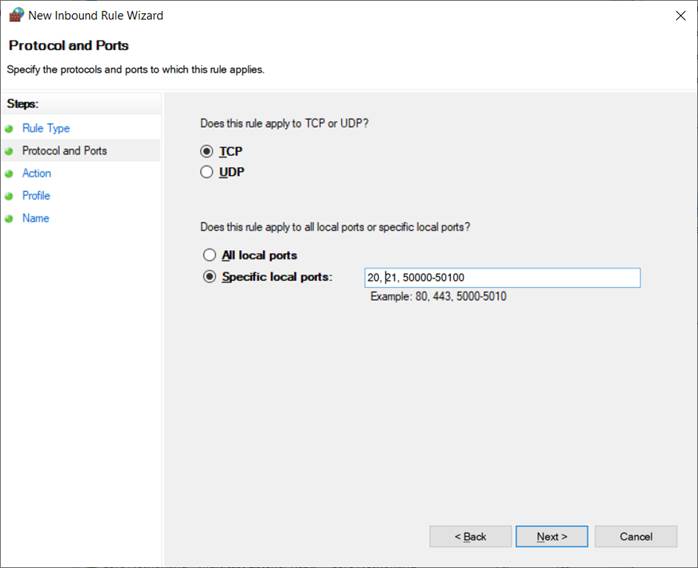
In the wizard, in Rule Type, select Port à Next. In
Protocols and Ports, TCP must be selected. In Specific local ports, enter these
numbers: 20, 21, 50000-50100.
20 and 21 are the two standard ports for
FTP. A port range in the high numbers, e.g., 50000-50100, must be added to
these.
Press Next à Next à Next. Name
the rule, e.g., “Open FTP ports (passive)”. Press Finish.
Open Internet Information Services (IIS)
Manager from the Tools button in Server Manager.
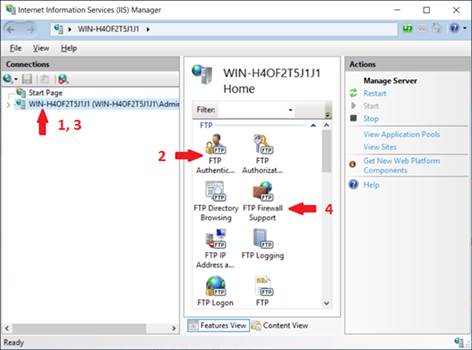
In the tree in the Connections window to
the left, click on the line with the Server name (under Start Page). Then double-click
on FTP Authentication. Here, select Basic Authentication and enable it under
Actions. Make sure that Anonymous Authentication is disabled. Click again on
the line with the Server name to close the FTP Authentication window. Finally,
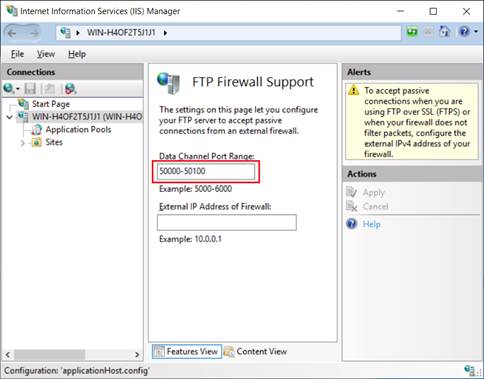
double-click on FTP Firewall Support.
In FTP Firewall Support, enter the same top
range of port numbers that you entered in step 2 above (50000 – 50100) à Apply:
Expand the tree in Connections and select
the Default Web Site. Click on Add FTP Publishing…

Select No SSL à Next.
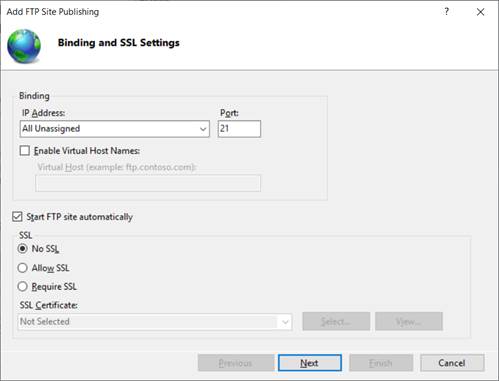
Make the following settings:
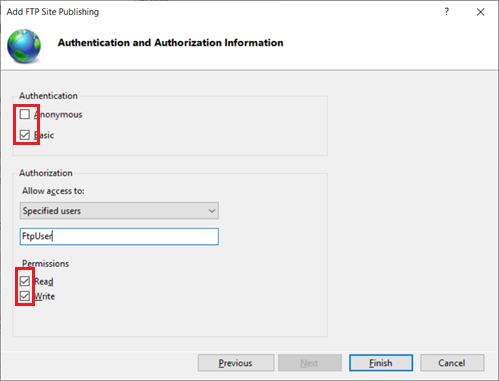
Allow access to Specified users à write the
name of the FTP user that you created above. Press Finish.
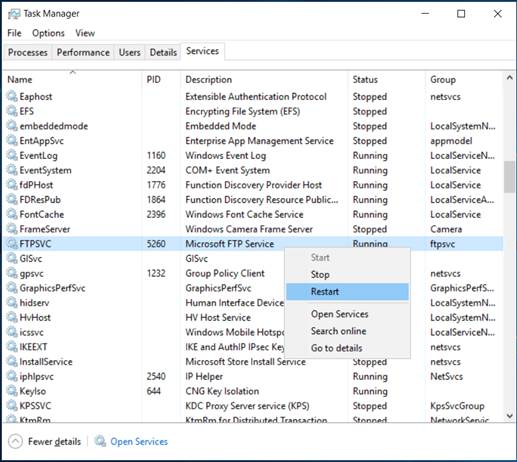
After these modifications, it is necessary
to restart the FTP Service on the computer:
Go to Task Manager (right-click on the Task
Bar). In Task Manager, go to Services. In the list of Services, locate FTPSVC à right-click
it and press Restart.
4. Install .NET runtime on
the virtual server
Click the link below. It is a direct link to the installer, so it will be
downloaded to your Downloads folder: https://dotnet.microsoft.com/permalink/dotnetcore-current-windows-runtime-bundle-installer.
Open your virtual server in Remote Desktop. Copy the installer file (currently:
dotnet-hosting-6.0.9-win) to the VM disk.
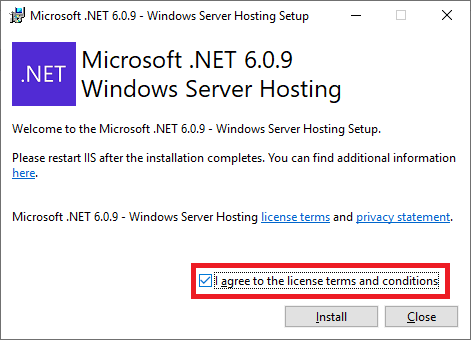
Double-click the file in Remote Desktop to
run it. You should see the following screen. Agree to terms and install – it
should only take a minute or two.
When the .NET runtime is installed on the
VM, it is automatically integrated with IIS. So, .NET web applications that are
published to IIS on the VM will respond to normal HTTP requests. Specifically,
the Default Web Site is normally set up to respond to the HTTP://X.X.X.X
request on the machine with IP address X.X.X.X. This is still the case if a
.NET web app is installed/deployed there.
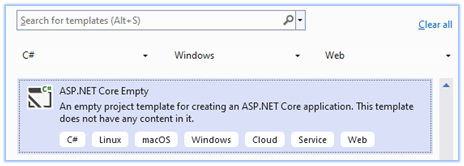
Create a ‘dummy’ solution in Visual Studio.
For instance, the TestWeb.sln has been created from the ASP.NET Core Empty template:
The program outputs a simple “Hello World!”
message in the browser:

Note that when the app is run in Visual
Studio, it is hosted in a special in-memory server called IIS Express. IIS
Express and IIS are two very different things. IIS Express only runs in
localhost.
To deploy the app to the IIS on the server,
it can be published directly from Visual Studio. Normally, the build
configuration should be set to Release for published apps.

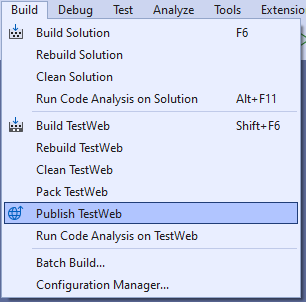
When the Release version has been built
(F6), open the Build menu (again) and select the Publish AppName option:
In the Publish wizard, we will use the FTP
option:
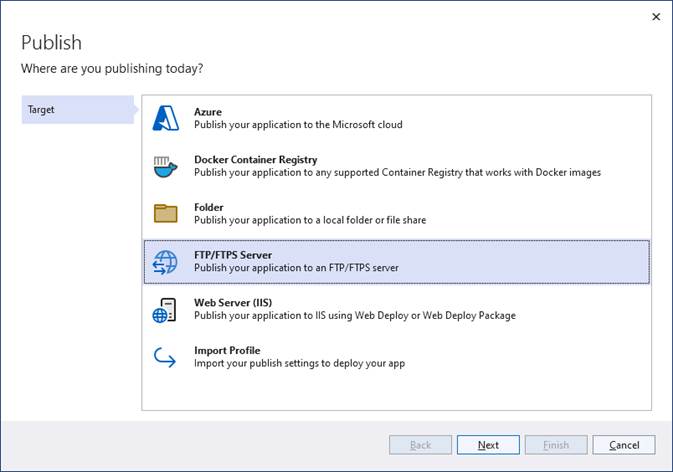
Click Next.
In the Configure FTP/FTPS connection
dialog, the following information is entered:
Server: Must
be the IP address of your ESXI VM. Remember to change the last byte number to
your group address.
Site path:
Not necessary if the app is published to the ISS root folder
(C:\inetpub\wwwroot).
Destination URL: If written, Visual Studio will request this address after the
publish and show it in a browser. Normally the same as the Server address.
Passive mode:
Must be checked.
User name + Password: Must be of the FTP user that you created on the server. It is a
good idea to check Save password. It is also a good idea to validate the
connection before proceeding.
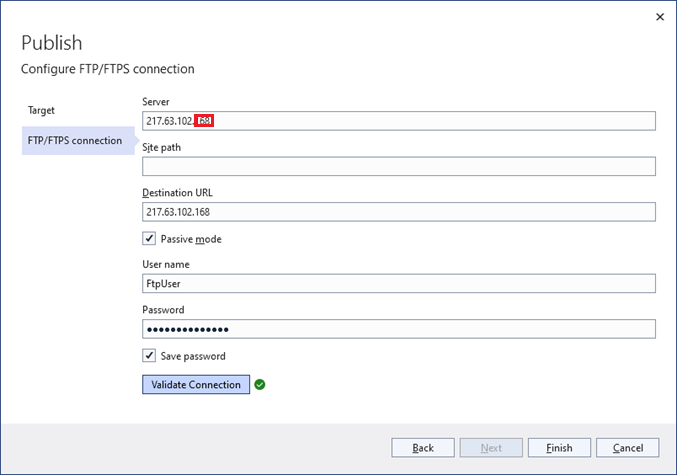
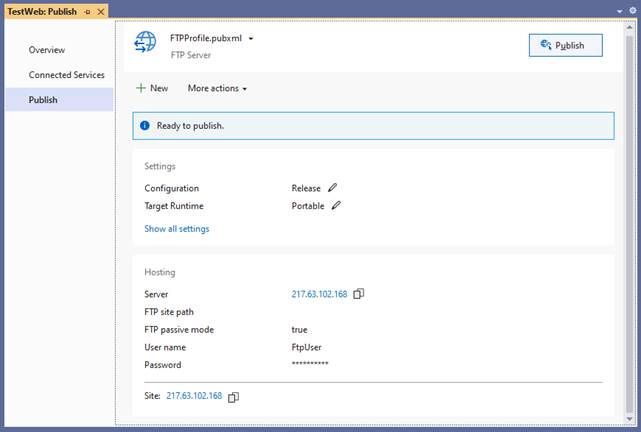
Press Finish. This publishing profile is
now saved with the default name FTPProfile.pubxml. Other profiles could be
created in the solution.
In the Publish view, the Publish button
will try to publish the app to the server (and run it if you entered
Destination URL). In this view you can make publishing profile CRUD: select
another one, create a new one or edit or delete the current profile (under More
actions).
If you edit the publish profile, then one
detail deserves mention: You can check to delete all existing files in the IIS
target folder before publishing. It is not checked by default, but it is a good
idea to clean the target folder when a new version is uploaded.
